Post by scottg on May 19, 2012 2:11:41 GMT -5
I need a window net for the Petty car. After some thought (and checking with my wife), I got ahold of this stuff:

This is 12 Mesh Needlepoint Canvas that we picked up at Hobby Lobby. I started out cutting a swatch of it off the roll:

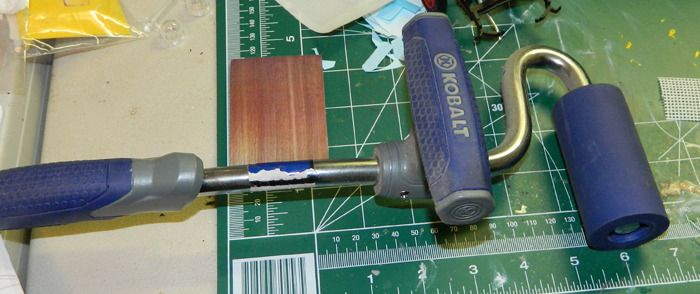
I cut this into three pieces. While it seems like it will work, it is a mesh and it does have some thickness to it. My goal in this was to make it thinner so it would be more in scale to a real mesh window net. It took me three tries (well, four actually) before I figured out how to do this. First, I tried using a J Roller (used for laying on laminate tops) to roll it out. Here's the J Roller:
And here's the results (on the left) next to an untouched piece (on the right).
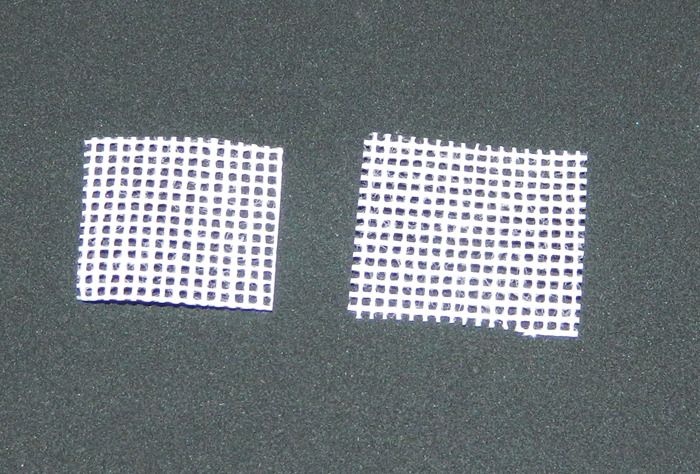
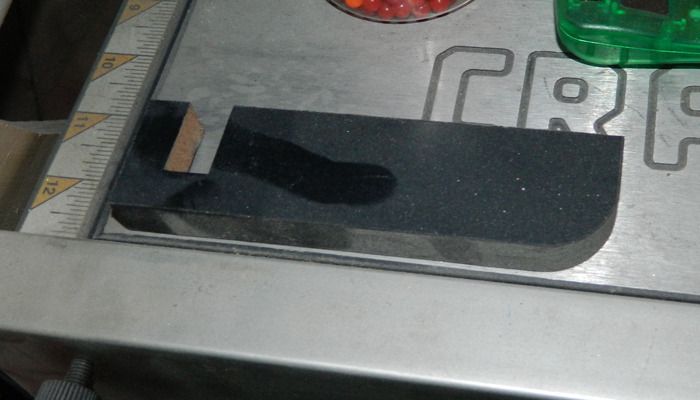
Hardly any difference at all, and I was pushing pretty hard. Hmmm... Time to think of something else. I decided to use a hammer and pound the mesh flat. Yeah, a hammer should work. I figured that the steel of my table saw would be firm enough, and I figured I would sandwich the mesh between the table saw and a piece of laminated board:
After trying it with not only the regular hammer, but the sledge hammer, this was the result:
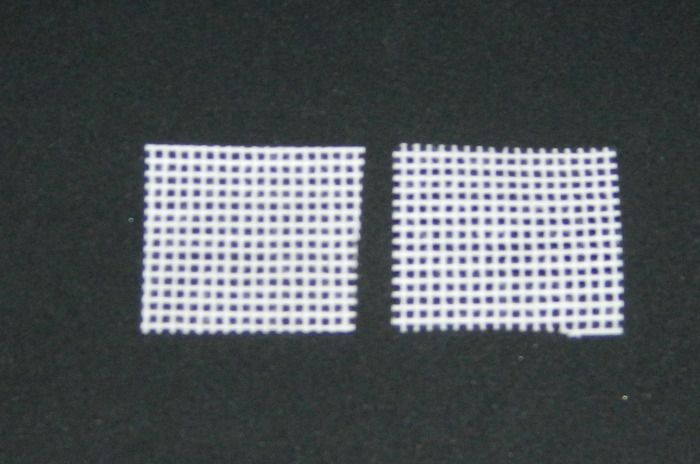
Still no difference. Dang! I looked down and noticed the floor. Hmmm... Concrete is pretty darn hard. So I proceeded to hammer the mesh straight on the concrete. Well, this tore the mesh up pretty quickly. As I was trying to think of what I could use to keep it from tearing, my wife says, "Why not use paper or something?" and handed me some paper. This is what I ended up using:
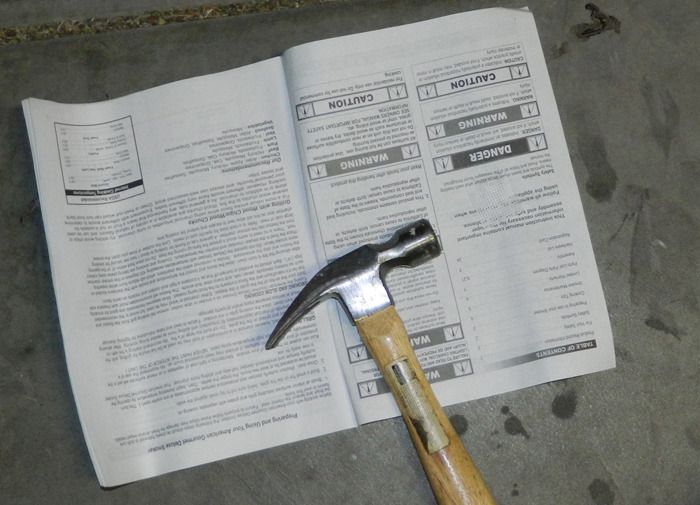
I laid the paper on the concrete, then the mesh on the paper and hammered straight on the mesh. No tears! Yippee. When I lifted it up, it was nice and thin! Much more to the proper scale thickness. Here is the completed mesh on the left:

While it may not look different, there is a definite difference in thickness. Now I can paint this, cut it down to size, and I will be set!

This is 12 Mesh Needlepoint Canvas that we picked up at Hobby Lobby. I started out cutting a swatch of it off the roll:

I cut this into three pieces. While it seems like it will work, it is a mesh and it does have some thickness to it. My goal in this was to make it thinner so it would be more in scale to a real mesh window net. It took me three tries (well, four actually) before I figured out how to do this. First, I tried using a J Roller (used for laying on laminate tops) to roll it out. Here's the J Roller:

And here's the results (on the left) next to an untouched piece (on the right).

Hardly any difference at all, and I was pushing pretty hard. Hmmm... Time to think of something else. I decided to use a hammer and pound the mesh flat. Yeah, a hammer should work. I figured that the steel of my table saw would be firm enough, and I figured I would sandwich the mesh between the table saw and a piece of laminated board:

After trying it with not only the regular hammer, but the sledge hammer, this was the result:

Still no difference. Dang! I looked down and noticed the floor. Hmmm... Concrete is pretty darn hard. So I proceeded to hammer the mesh straight on the concrete. Well, this tore the mesh up pretty quickly. As I was trying to think of what I could use to keep it from tearing, my wife says, "Why not use paper or something?" and handed me some paper. This is what I ended up using:

I laid the paper on the concrete, then the mesh on the paper and hammered straight on the mesh. No tears! Yippee. When I lifted it up, it was nice and thin! Much more to the proper scale thickness. Here is the completed mesh on the left:

While it may not look different, there is a definite difference in thickness. Now I can paint this, cut it down to size, and I will be set!


