|
|
Post by scottg on May 13, 2012 15:51:20 GMT -5
Okay, you've decided that it's time to make some hood pins. Here's the things we will need: 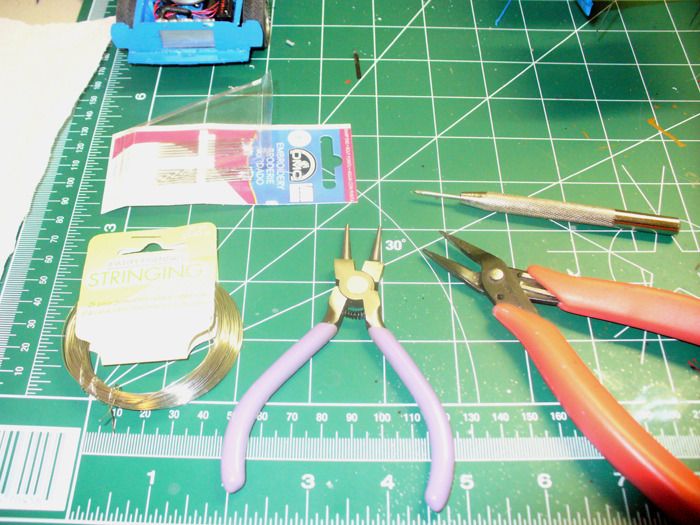 Sewing needles, jewelry wire, flat need nose pliers, round needle nose pliers, and a hole punch. Basically, the eye of the needle is just a little too small, so we use the hole punch to make the eye just slightly larger. Careful with this - if you stamp it too hard through the eye, you will simply break the needle - these don't bend much at all. Once you have the eye large enough for the wire to fit through, the needle is done. Now we need to shape the wire. Use the round tipped pliers to make the "S" shapes in the wire, then turn the wire back to run beside the wavey "S" side, then clip it off. It should look something like this: 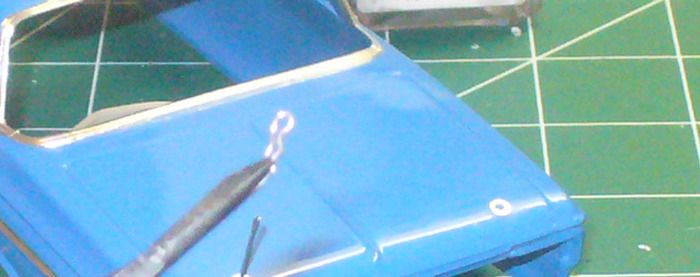 Now use your flat pliers to get this wire back into shape and flat. When you're done, it should look like this (or something similar): 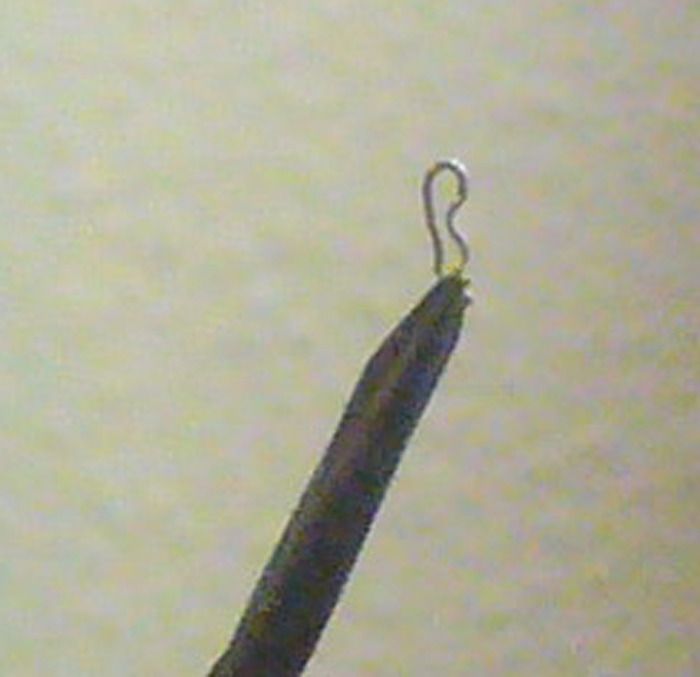 Finally, feed the needle through the hood or trunk, use your newly made clip to hold it in place. Here it is on the trunk - since the trunk doesn't open, we didn't have to worry about making these ones functional like the ones for the hood, but the same process will be employed for those as well. These have been superglued into place and once it's dry, I will just clip the needles below the trunk and that part will be done.  |
|
|
|
Post by scottg on May 13, 2012 15:51:57 GMT -5
Here's how we will make the hood pins functional. I had drilled out three holes on the hood, but what you may not have noticed is that there are also three holes in the support beam under the front of the hood - this is where the needles will go: 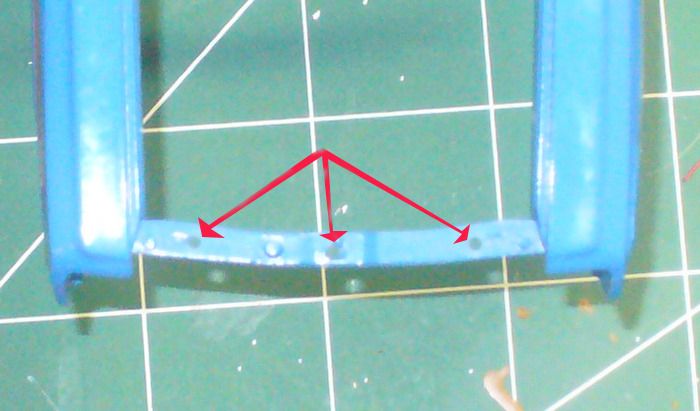 You wanna make sure that the wire goes through the needles very easily - you don't wanna have to fuss with it once it's all together (imagine the needle swaying in the breeze): 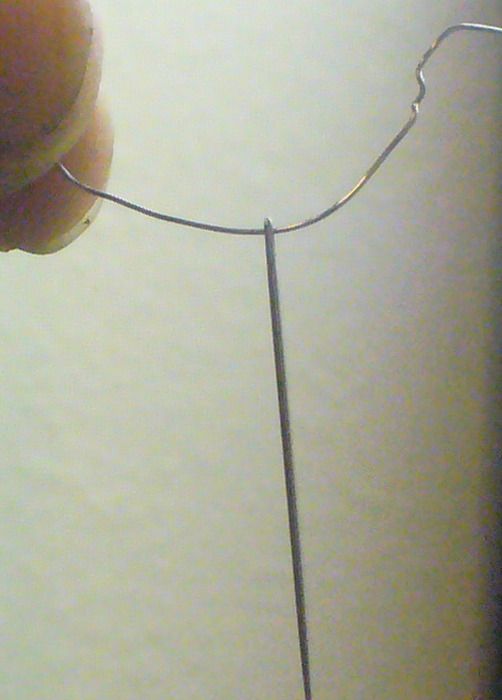 We then snip a bit of wire and put it through the needle eye - this will help hold the needle up and will be used for a slight adjustment that I will mention later. We then put the needles through the holes in the hood: 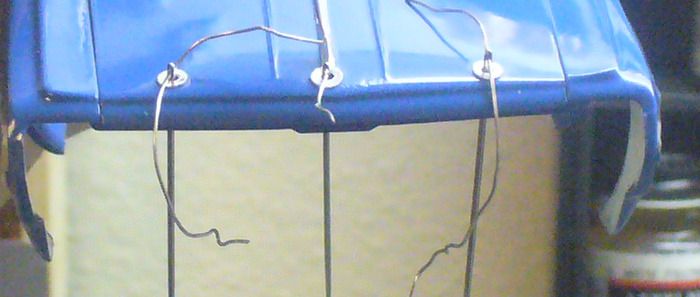 Make sure that your needles go through not only the hood, but also the support beam below: 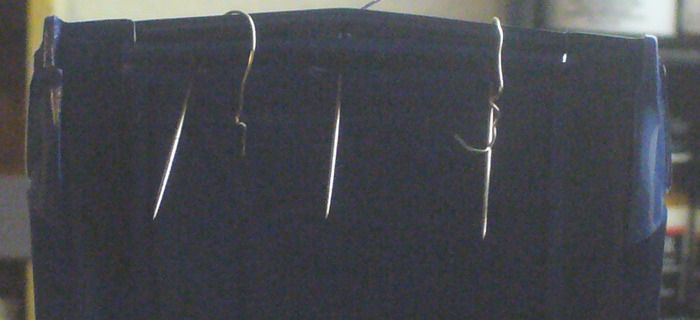 Alright, that picture stunk, so here's another one that shows how the needles go through both the hood and the support: 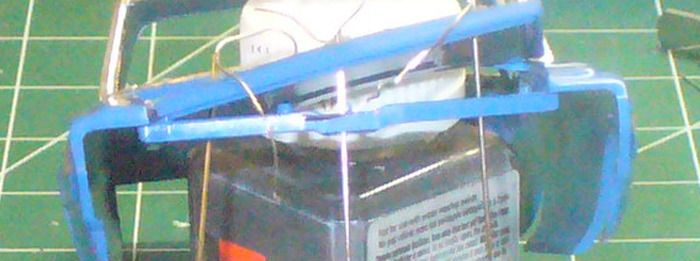 Once it's all set, you want the needles to be raised slightly (no need to treat your model like the car you had 20 years ago where you had to push on the hood to get the hood pin through the rod). Rotate the wire to slightly lift the needles up just a touch, then support that with a small bit of tape: 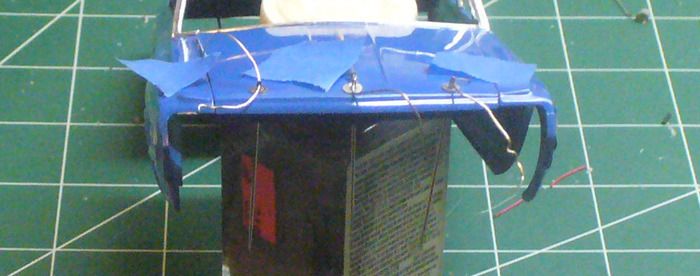 Now superglue the needles to the support (not the hood - that would be bad). Let it sit for the glue to set, or use some accelerator. While this is sitting, you can take a few and make the pins as mentioned above. Voila!! You've just made functional hood pins. |
|
|
|
Post by scottg on May 13, 2012 15:52:32 GMT -5
Okay, time to finish up the hood pins. First, I drilled three small holes in the grill. 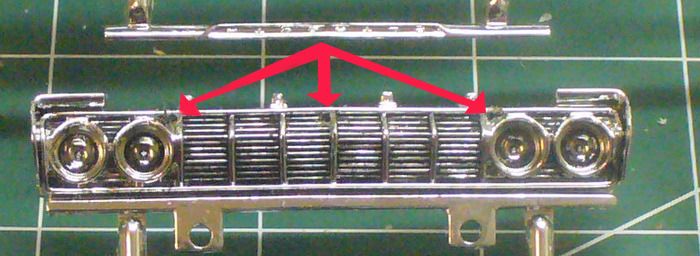 Now we're going to use that thread you saw in the earlier picture. This is silver thread that my wife picked up at Walmart - it's pretty cheap, and it is an actual silver color instead of just a grey. We need to cut a few lengths of thread and tie a knot at the end:  Run the thread through the holes in your grill so the knot catches the back of the grill. Glue this in place - I used Gator Glue, but you could use whatever glue you are comfortable with. Now you have the cables for your hood pins: 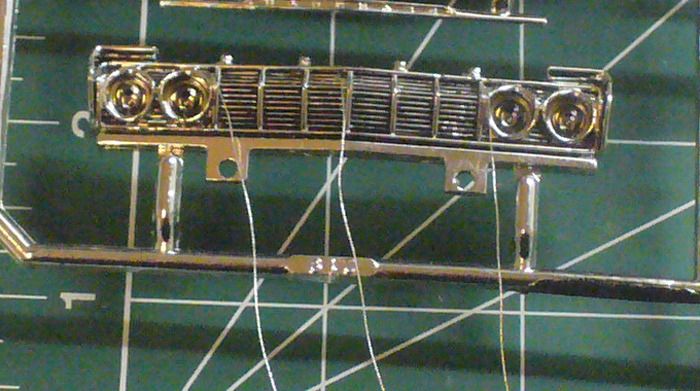 Sorry, I know it's tough seeing the threads when the green mat has white stripes on it as well, but you can see them coming out of the grill where we drilled the holes earlier. Now the only thing left to do is make three more clips (as shown above) and tie those new clips to the threads. Make a knot and cut off the excess. This is best done when you are getting pretty much all done so you can make sure that the length is correct. Kathi just added to put a little dab of glue on this knot as well so it doesn't come undone - yes, she is helpful  And as a final update to the previous post, once the glue has set and the needles are all set in place, simply clip them off below the support. Your hood pins are now ready to be used: 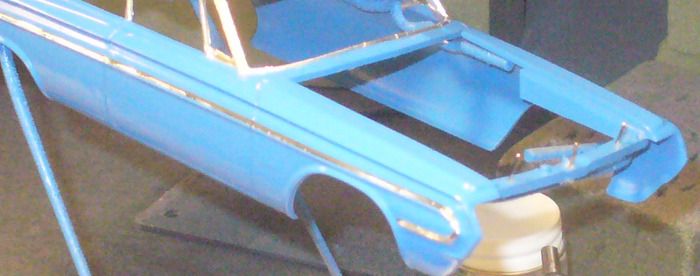 |
|
|
|
Post by scottg on May 13, 2012 15:55:22 GMT -5
Sorry - I forgot the part about how to make the round plate that protects the hood. First, you need a hole punch that's 1/8 inch. 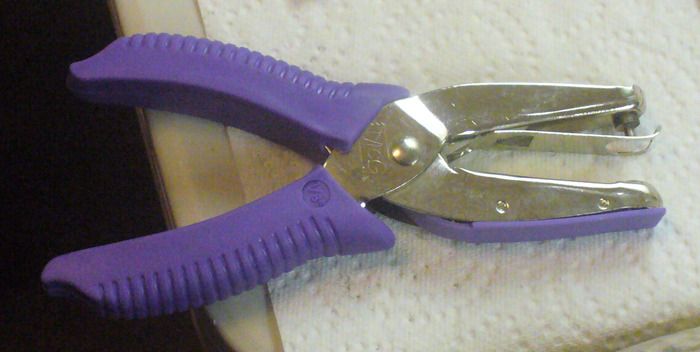 My wife has one for her crafting stuff, but it shouldn't be too hard to find one. Why 1/8 inch you ask? Well, 1/8 inch works out to a three inch round disk at 1/24 scale, so this will be about perfect. Once you have your hole punch, pick out a sequin that has at least 1/8 inch flat area. 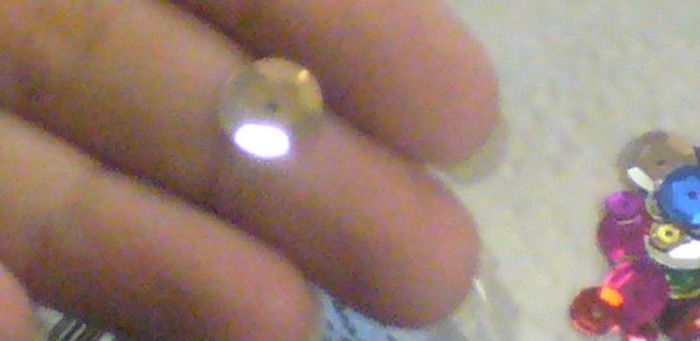 Then you simply center the sequin on the hole punch and punch that sucker! 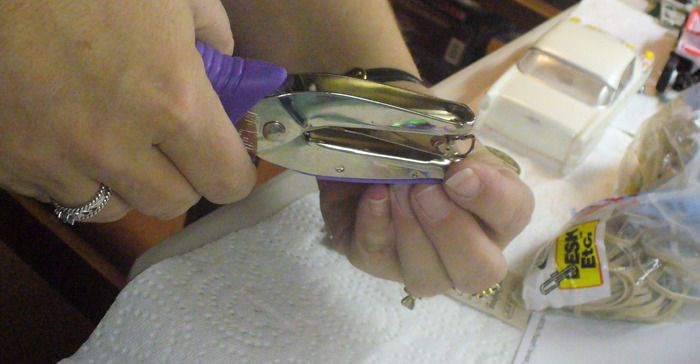 This is just about a perfect size for the scuff plates on the hood pins - sorry it's not centered - I just placed in on there to show it in place 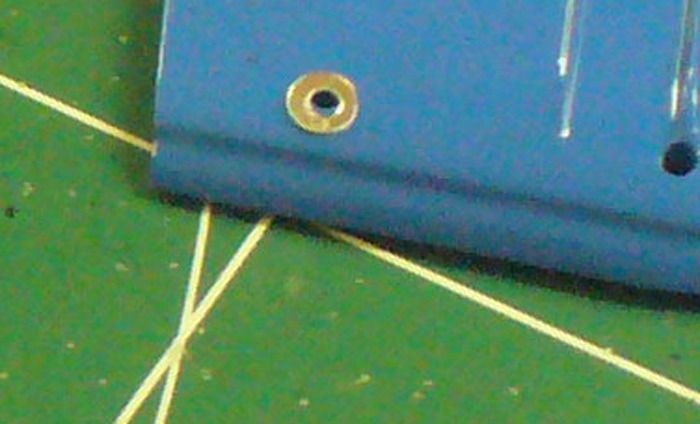 The hard part about it is getting the sequin perfectly centered. When Kathi did it, she got one or two bad ones for each good one she did, so it will take some time - good thing sequins are so cheap! :thumbsup: The nice thing about this is that you can use all the colored sequins to make these as well in different colors - while it may not be correct for a period piece, it would look great on a new tuner-type car. Check out the blue one we did just because... :cool: 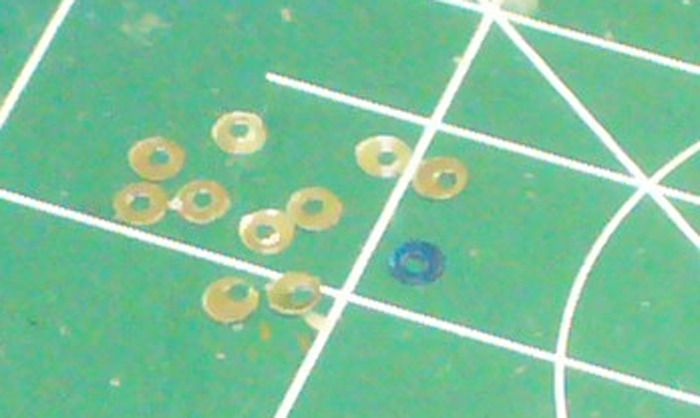 |
|
|
|
Post by Bill (admin) on May 13, 2012 21:08:32 GMT -5
SWEET TUTORIAL!
We could all use a thousand of these...Bravo!
Thanks Scott!
Bill
|
|


